
Deep Blue transparencies
Our brand presence thrives on the vibrancy of our images. That’s why we developed our transparent Deep Blue expanding box, allowing our images to still deliver impact when overlaid with text. Our expanding box removes storytelling barriers for the viewer while connecting our messaging to our brand.
Deep Blue should remain Deep Blue – even as a transparent surface on different photographic backgrounds.
Easy to apply: We have developed a workflow for print objects that ensures that the Deep Blue surface always looks consistent.

Please do not simply create a surface in Deep Blue and set it to “multiply”.

Please do not simply create a surface in Deep Blue and set it to “70 % opacity”.

The workflow: A mix of a coloured grayscale images under a transparent rectangle in 70 % Deep Blue.
How to create Deep Blue transparencies (Photoshop)
1. Open the final edited original image
The source image can be created in a CMYK or RGB colour space. It is important that the image is processed and profiled correctly. In this case, it is a layer-reduced JPEG file in CMYK/PsoCoatedV3.
2. Duplicate as a greyscale image
The original image is now converted to grayscale in Photoshop (Gray Gamma 2.2 – 8bcp).
3. Optimise the greyscale image
The brightness and contrast of the greyscale image are adjusted so that the image has sufficient detail even in dark areas for later use with the transparent Deep Blue area. Save this image file as a JPEG file with the appropriate name so that it can be clearly assigned later..


How to create Deep Blue transparencies (InDesign)
4. Combine the two image versions
Now the two image files are placed precisely on top of each other in InDesign. The greyscale version of the image lies above the coloured version.
5. Trim the transparent area
Now determine the section that the transparent area should have and crop the greyscale image accordingly.
6. Colour the greyscale image
The greyscale image is now coloured with Deep Blue.
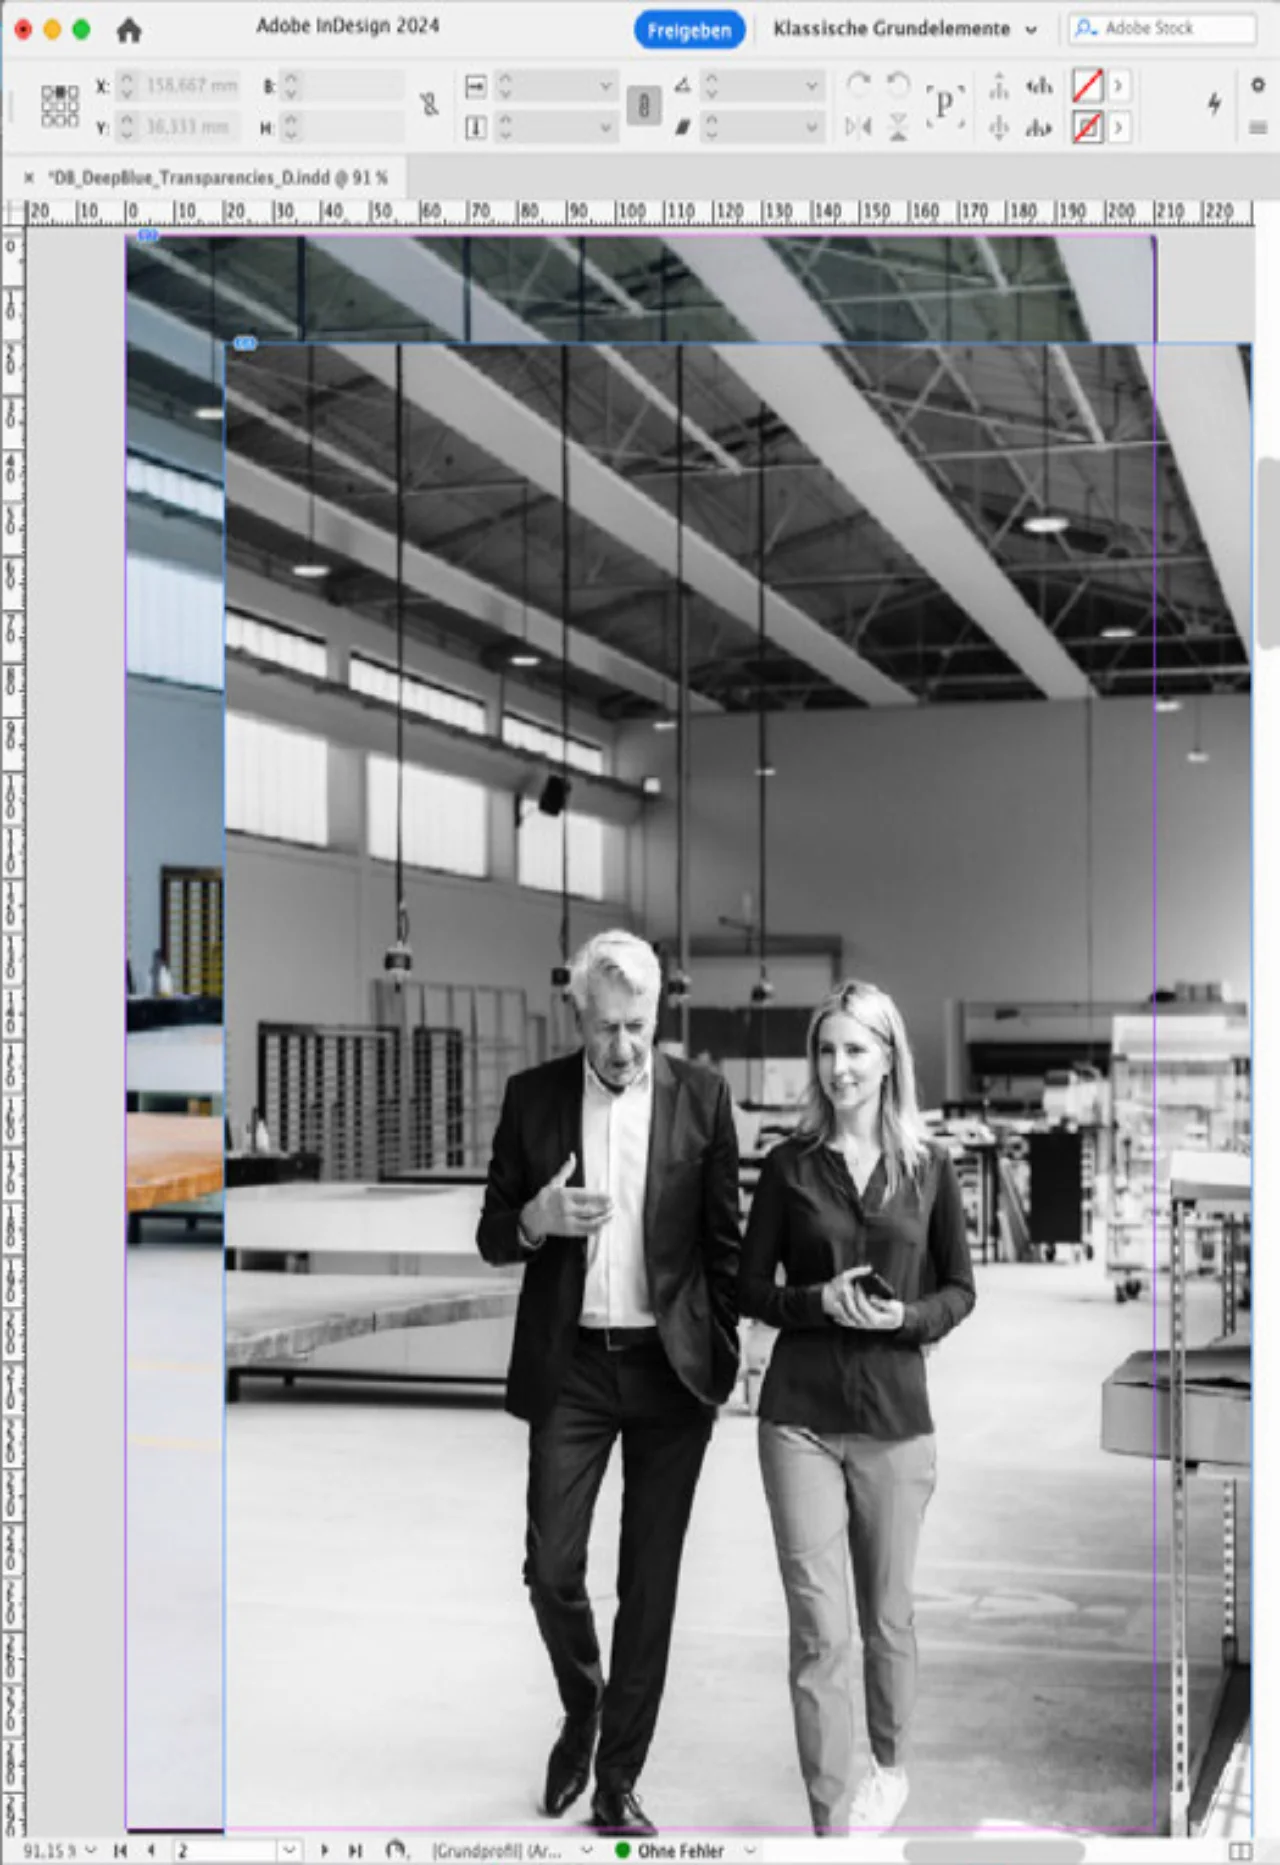


How to create Deep Blue transparencies (InDesign)
7. Create the surface area in Deep Blue
An area coloured with 100 % Deep Blue is now placed precisely over the coloured area of the image.
8. Add transparency using “multiply” mode
This colour area is set to “multiply”.
9. Optimise with opacity
To ensure that enough of the image shines through the transparent area, the opacity is set to 70 %. If the image does not have enough detail under the blue area, the contrast, and brightness of the grey-scale image can be further adjusted.


Optimise with opacity
Depending on the subject, the opacity may vary between 70% and 80 %. As most subjects tend to have dark image areas, the opacity is reduced to 70% when multiplying (example 1). This preserves the colour impression of Deep Blue despite the transparency.

Very bright and extremely high-contrast image motifs require less
transparency, so the opacity is set to 80% (example 2a).

With an opacity of 70%, the expanding box on this motif would no longer be Deep Blue, but only blue.